Raspberry Pi Anywhere Setup: Your Ultimate Guide To Remote Access
In today's interconnected world, the ability to control your devices from anywhere is not just a luxury, but often a necessity. For Raspberry Pi users, mastering the art of a "Raspberry Pi anywhere setup" opens up a universe of possibilities, transforming this tiny computer into a truly versatile remote workstation or a central hub for your smart home, accessible whether you're across the room or across the globe. This comprehensive guide will walk you through everything you need to know to set up remote access to your Raspberry Pi, ensuring you can manage, monitor, and interact with it securely and efficiently, no matter where you are.
Since the first Raspberry Pi's were released in 2012, these credit-card-sized computers have empowered millions to learn, innovate, and create. Their low cost, small footprint, and incredible versatility make them ideal for a myriad of projects, from simple media centers to complex automation systems. However, to truly unlock their potential, especially for projects that don't sit directly on your desk, remote access becomes paramount. Imagine being able to remotely monitor CPU usage, memory, temperature, and more, or take control with a remote terminal, all from your smartphone or laptop. This guide will make that vision a reality, providing detailed steps and insights into various remote access methods, with a special focus on the seamless experience offered by Raspberry Pi Connect.
Table of Contents
- Why Remote Access to Your Raspberry Pi is Essential
- Understanding the Challenges of Traditional Remote Access
- Core Methods for Raspberry Pi Anywhere Setup
- Introducing Raspberry Pi Connect: A Game Changer for Anywhere Access
- Step-by-Step: Setting Up Raspberry Pi Connect for Anywhere Access
- Advanced Remote Monitoring and Control
- Beyond the Basics: Expanding Your Remote Pi Capabilities
- Ensuring Security for Your Remote Raspberry Pi Setup
- Conclusion: Embrace the Freedom of Your Raspberry Pi Anywhere
Why Remote Access to Your Raspberry Pi is Essential
The concept of a "Raspberry Pi anywhere setup" is revolutionary for many users. Whether you're a developer, tinkerer, or homelab enthusiast, the ability to control your Raspberry Pi remotely from any device connected to the internet offers unparalleled flexibility and convenience. Imagine your Raspberry Pi is tucked away in a server closet, deployed as a smart home controller, or even part of a remote sensor network in a distant location. Without remote access, managing these setups would be incredibly cumbersome, requiring physical interaction every time you need to make an adjustment, check status, or deploy new code. Remote access transforms your Raspberry Pi into a truly autonomous and accessible device. It allows you to:- Manage Smart Home Devices: Control lights, thermostats, security cameras, and other IoT devices connected to your Pi-based home automation system from your phone while you're away.
- Host Personal Servers: Run a personal cloud storage, a web server, or a game server on your Raspberry Pi and access it from anywhere, sharing files or hosting websites for friends and family.
- Monitor Projects Remotely: Keep an eye on environmental sensors, camera feeds, or industrial processes without being physically present. You can remotely monitor CPU usage, memory, temperature, and more, ensuring your project runs smoothly.
- Develop and Debug On-the-Go: Access your development environment, run scripts, or debug code on your Raspberry Pi from your laptop at a coffee shop or a different office.
- Provide Technical Support: If you've set up a Raspberry Pi for a friend or family member, you can provide remote assistance and troubleshoot issues without needing to visit their location.
Understanding the Challenges of Traditional Remote Access
Historically, setting up remote access to a device within your home network, like a Raspberry Pi, from outside that network has been a complex endeavor. To access a Raspberry Pi (or any home computer for that matter) from outside your home network, you'd usually need to jump through a lot of hoops. This often involves wrestling with network configurations that are far from straightforward for the average user.The Hurdles of Port Forwarding and Dynamic IPs
One of the primary challenges is **port forwarding**. This involves configuring your home router to direct incoming internet traffic on a specific port to a specific device (your Raspberry Pi) on your local network. While effective, it presents several issues:- Security Risks: Exposing SSH or VNC directly on your Raspberry Pi over the open internet can be a significant security risk if not properly secured. It opens your device to potential attacks from malicious actors scanning for open ports.
- Router Configuration Complexity: Many users find router interfaces intimidating and port forwarding rules difficult to set up correctly. Incorrect configurations can lead to network instability or security vulnerabilities.
- Dynamic IP Addresses: Most home internet connections use dynamic IP addresses, meaning your public IP address can change periodically. This makes it challenging to consistently connect to your Raspberry Pi, as the address you used yesterday might not work today. Solutions like Dynamic DNS (DDNS) services can mitigate this, but they add another layer of setup and dependency.
- ISP Restrictions (NAT): Many Internet Service Providers (ISPs) use Carrier-Grade NAT (CGNAT), which means your home network doesn't have a unique public IP address directly. Instead, multiple users share a single public IP, making traditional port forwarding impossible. This article will show you a step-by-step guide on how you can access your Raspberry Pi from anywhere in the world even if you’re behind your ISP’s NAT.
Core Methods for Raspberry Pi Anywhere Setup
Yes, it is possible to control a Raspberry Pi remotely. There are several different ways to go about this, each with its own advantages and ideal use cases. Understanding these foundational methods is crucial before diving into more integrated solutions.SSH: The Command-Line Powerhouse
SSH (Secure Shell) is the backbone of remote command-line access. It provides a secure, encrypted connection to your Raspberry Pi's terminal, allowing you to execute commands, manage files, and perform system administration tasks as if you were sitting right in front of it.- How it Works: You use an SSH client (like PuTTY on Windows, or the built-in terminal on Linux/macOS) to connect to your Raspberry Pi's IP address. Once connected, you get a command prompt.
- Pros: Highly secure (when used with strong passwords or SSH keys), lightweight, and extremely powerful for headless (no monitor/keyboard) setups. You can remotely monitor CPU usage, memory, temperature, and more, directly from the terminal.
- Cons: Requires comfort with the command line; not suitable if you need a graphical desktop interface.
- Setup (Traditional):
- Enable SSH on your Raspberry Pi (via `sudo raspi-config` -> Interface Options -> SSH).
- Find your Raspberry Pi's local IP address (`hostname -I`).
- From another device on the same network, open a terminal and type `ssh pi@
`. - For external access, you'd traditionally need port forwarding (port 22) and potentially DDNS, which, as discussed, comes with challenges.
VNC: Your Graphical Desktop Gateway
VNC (Virtual Network Computing) allows you to remotely connect to your Raspberry Pi’s desktop from anywhere in the world. If you've set up your Raspberry Pi as an interactive computer with a desktop environment (like Raspberry Pi OS with Desktop), VNC provides a full graphical user interface (GUI) experience.- How it Works: A VNC server runs on your Raspberry Pi, streaming its desktop interface over the network. A VNC client on your remote device receives this stream, allowing you to see and interact with the Pi's desktop.
- Pros: Provides a familiar desktop environment, making it easy for users who prefer graphical interfaces for tasks like web browsing, document editing, or using graphical applications. Transform your Raspberry Pi into a versatile remote workstation by setting up remote desktop access in under 30 minutes.
- Cons: Can be more resource-intensive than SSH, potentially slower over high-latency connections. Traditional VNC also often requires port forwarding (port 5900) for external access.
- Setup (Traditional):
- Enable VNC on your Raspberry Pi (via `sudo raspi-config` -> Interface Options -> VNC, or install a VNC server like RealVNC Server).
- Install a VNC client (e.g., RealVNC Viewer) on your remote device.
- Connect using your Raspberry Pi's IP address.
- For external access, traditional VNC also faces the same port forwarding and dynamic IP challenges as SSH. Additionally, for Raspbian for Robots users, we’ll provide instructions on utilizing noVNC to access the desktop via a web browser, often in conjunction with tunneling services.
Introducing Raspberry Pi Connect: A Game Changer for Anywhere Access
The Raspberry Pi Foundation has recognized the growing need for simplified, secure remote access, leading to the introduction of Raspberry Pi Connect. This new service by Raspberry Pi is designed to securely remotely access your Raspberry Pi from anywhere using a web browser, without the need for port forwarding or complicated networking. It is a secure remote access solution for Raspberry Pi OS, allowing you to connect seamlessly.Simplified Setup and Secure Connectivity
Raspberry Pi Connect fundamentally changes how you achieve a "Raspberry Pi anywhere setup." It acts as a secure tunnel, bypassing the need for direct port exposure or complex router configurations. With Raspberry Pi Connect, you can directly access your Pi through a web browser, making it incredibly user-friendly. Here's why Raspberry Pi Connect is a game-changer:- No Port Forwarding Required: This is the biggest advantage. Raspberry Pi Connect handles the connection negotiation, allowing your Pi to establish an outbound connection to the service, which then relays your incoming requests. This eliminates the security risks and configuration headaches associated with opening ports on your router.
- Web Browser Access: You can connect to your Raspberry Pi computer from any web browser on any device (laptop, tablet, smartphone). This universal accessibility is a massive convenience.
- Secure by Design: Raspberry Pi Connect provides secure access to your Raspberry Pi from anywhere in the world. All connections are encrypted, protecting your data and your Pi from unauthorized access.
- Ease of Use: The setup process is streamlined, requiring minimal technical expertise. Whether you’re a developer, tinkerer, or homelab enthusiast, this guide will walk you through the entire setup in plain English — no complicated networking, no port forwarding, just simple steps.
Step-by-Step: Setting Up Raspberry Pi Connect for Anywhere Access
In this comprehensive guide, I’ll walk you through everything you need to know to set up remote access to your Raspberry Pi using Raspberry Pi Connect. I’ll be explaining each step in detail, providing code snippets where necessary. Prerequisites:- A Raspberry Pi running Raspberry Pi OS (64-bit or 32-bit). Ensure it's updated (`sudo apt update && sudo apt full-upgrade`).
- An active internet connection for your Raspberry Pi.
- A web browser on your remote device.
- A Raspberry Pi account (free to create).
- Update Your Raspberry Pi OS: Open a terminal on your Raspberry Pi (or connect via local SSH) and run:
This ensures you have the latest packages and dependencies.sudo apt update sudo apt full-upgrade -y sudo reboot - Install Raspberry Pi Connect: Once your Pi has rebooted, open a terminal again and run the following command. This will run a one-line setup command on your Raspberry Pi to install the necessary software:
This script will download and install the `rpi-connect` service. Follow any on-screen prompts.curl -L connect.raspberrypi.com | bash - Link Your Device to Your Raspberry Pi Account: After installation, the script will prompt you to link your Raspberry Pi to your Raspberry Pi account. It will provide a unique URL.
Open this URL on your computer or phone. You'll be asked to log in to your Raspberry Pi account (or create one if you don't have one). Once logged in, confirm the linking of your device.Visit this URL in your web browser to link your device: https://connect.raspberrypi.com/link?code=YOUR_UNIQUE_CODE - Access Your Raspberry Pi: Once linked, your Raspberry Pi will appear in your Raspberry Pi Connect dashboard at connect.raspberrypi.com.
From the dashboard, you will see your linked Raspberry Pi(s). Click on your Pi, and you'll be presented with options to connect via SSH (terminal) or VNC (desktop).
Clicking the "Connect" button for either SSH or VNC will open a new tab in your web browser, giving you immediate, secure access to your Raspberry Pi's terminal or desktop. It's that simple!
Advanced Remote Monitoring and Control
Once your "Raspberry Pi anywhere setup" is complete, the possibilities for remote monitoring and control expand significantly. Beyond just accessing the terminal or desktop, you can implement more sophisticated solutions to keep tabs on your Pi's health and performance. * Custom Scripts and Dashboards: You can write Python or Bash scripts to collect data like CPU usage, memory consumption, temperature, disk space, and network activity. These scripts can then push data to a cloud-based dashboard service (e.g., Grafana, ThingsBoard, Adafruit IO) or simply log them to a file that you can retrieve via SSH. This allows you to remotely monitor CPU usage, memory, temperature and more with historical data and visual trends. * Notification Systems: Integrate your monitoring scripts with notification services like Pushbullet, Telegram, or email. Set up alerts for critical events, such as high temperatures, low disk space, or service failures, so you're immediately aware of any issues. * Remote File Access (Samba/SFTP): While not strictly "anywhere" without additional tunneling, setting up Samba on your Pi allows you to access files stored on your Raspberry Pi on any device connected to that network. For remote access, SFTP (SSH File Transfer Protocol) is built into SSH and allows secure file transfers using clients like FileZilla or WinSCP. This is crucial for managing project files or accessing data logs from your remote Pi. * Web-based Control Panels: For more integrated control, consider installing web-based control panels like Webmin or Portainer (for Docker containers). These provide a graphical interface for managing various aspects of your Raspberry Pi, accessible through your web browser, often over SSH tunnels provided by services like Raspberry Pi Connect or other tunneling solutions. The power of a "Raspberry Pi anywhere setup" lies not just in basic access, but in the ability to integrate it into a larger ecosystem of remote management tools.Beyond the Basics: Expanding Your Remote Pi Capabilities
With a solid "Raspberry Pi anywhere setup" in place, you can explore more advanced use cases and tools that enhance your remote experience. * VPN for Network-Level Access: For a more comprehensive remote network experience, consider setting up a VPN (Virtual Private Network) server on your Raspberry Pi (e.g., using WireGuard or OpenVPN). This allows you to connect to your home network as if you were physically there, providing access to all devices on your local network, not just the Pi itself. This is a secure remote access solution for Raspberry Pi OS, allowing you to connect to your entire home network, within a VPN, or using an external service. * Pitunnel or Ngrok for Specific Services: While Raspberry Pi Connect covers SSH and VNC, you might have other services running on your Pi (e.g., a web server on port 80, a custom application on a unique port) that you want to expose securely without port forwarding. Tools like Pitunnel or Ngrok create secure tunnels for these specific ports. You can run a one-line setup command on your Raspberry Pi to install Pitunnel, for instance, and expose any service securely. * Headless Setup Optimization: For many "Raspberry Pi anywhere setup" scenarios, a headless configuration (without a monitor, keyboard, or mouse attached) is ideal. Ensure your Pi is configured to boot headless and that all necessary services (like SSH and VNC if you use them) start automatically. This maximizes efficiency and minimizes power consumption. * Remote Project Deployment: Use tools like Git for version control and remote deployment. You can develop code on your main computer, push it to a Git repository, and then pull it directly onto your remote Raspberry Pi, streamlining your development workflow. * Power Management: For critical remote deployments, consider solutions for remote power cycling. Smart power outlets or custom circuits can allow you to remotely reboot your Raspberry Pi if it becomes unresponsive, ensuring maximum uptime for your "Raspberry Pi anywhere setup." These advanced techniques allow you to push the boundaries of what's possible with your remote Raspberry Pi, turning it into a truly robust and self-sufficient system.Ensuring Security for Your Remote Raspberry Pi Setup
While the convenience of a "Raspberry Pi anywhere setup" is undeniable, security must always be a top priority. Exposing any device to the internet carries inherent risks. Here are crucial steps to secure your remote Raspberry Pi: * Strong Passwords: This is fundamental. Always change the default 'pi' user password immediately. Use strong, unique passwords for all accounts. * SSH Key Authentication: For SSH access, switch from password authentication to SSH key pairs. This is significantly more secure. Generate a public/private key pair, upload the public key to your Pi, and disable password authentication in the SSH server configuration (`/etc/ssh/sshd_config`). * Regular Updates: Keep your Raspberry Pi OS and all installed software up to date. Regular updates patch security vulnerabilities.sudo apt update && sudo apt full-upgrade -yConclusion: Embrace the Freedom of Your Raspberry Pi Anywhere
The journey to achieving a "Raspberry Pi anywhere setup" has evolved significantly, moving from complex network configurations to remarkably user-friendly solutions like Raspberry Pi Connect. We've explored why remote access is essential for modern Raspberry Pi projects, the traditional hurdles of port forwarding, and the core methods of SSH and VNC. Crucially, we've highlighted how Raspberry Pi Connect simplifies this entire process, offering a secure, web-browser-based solution that bypasses common networking challenges. Whether you're managing a smart home setup, hosting a server, or working on a remote project, the ability to control your Raspberry Pi from anywhere in the world is a game-changer. By following the steps outlined in this guide, you can transform your Raspberry Pi into a truly versatile and accessible remote workstation, ready to serve your needs no matter your location. Now that you're equipped with the knowledge to set up your own "Raspberry Pi anywhere setup," the possibilities are limitless. What exciting projects will you embark on with your newly liberated Raspberry Pi? We encourage you to share your experiences and questions in the comments below. Don't hesitate to experiment, explore, and push the boundaries of what your tiny computer can achieve. If you found this guide helpful, please share it with fellow enthusiasts and explore our other articles for more Raspberry Pi tips and tutorials!/IMG_0957NEW-572a65035f9b58c34c6911d8.JPG)
How to Set Up a Raspberry Pi

Raspberry Pi installation
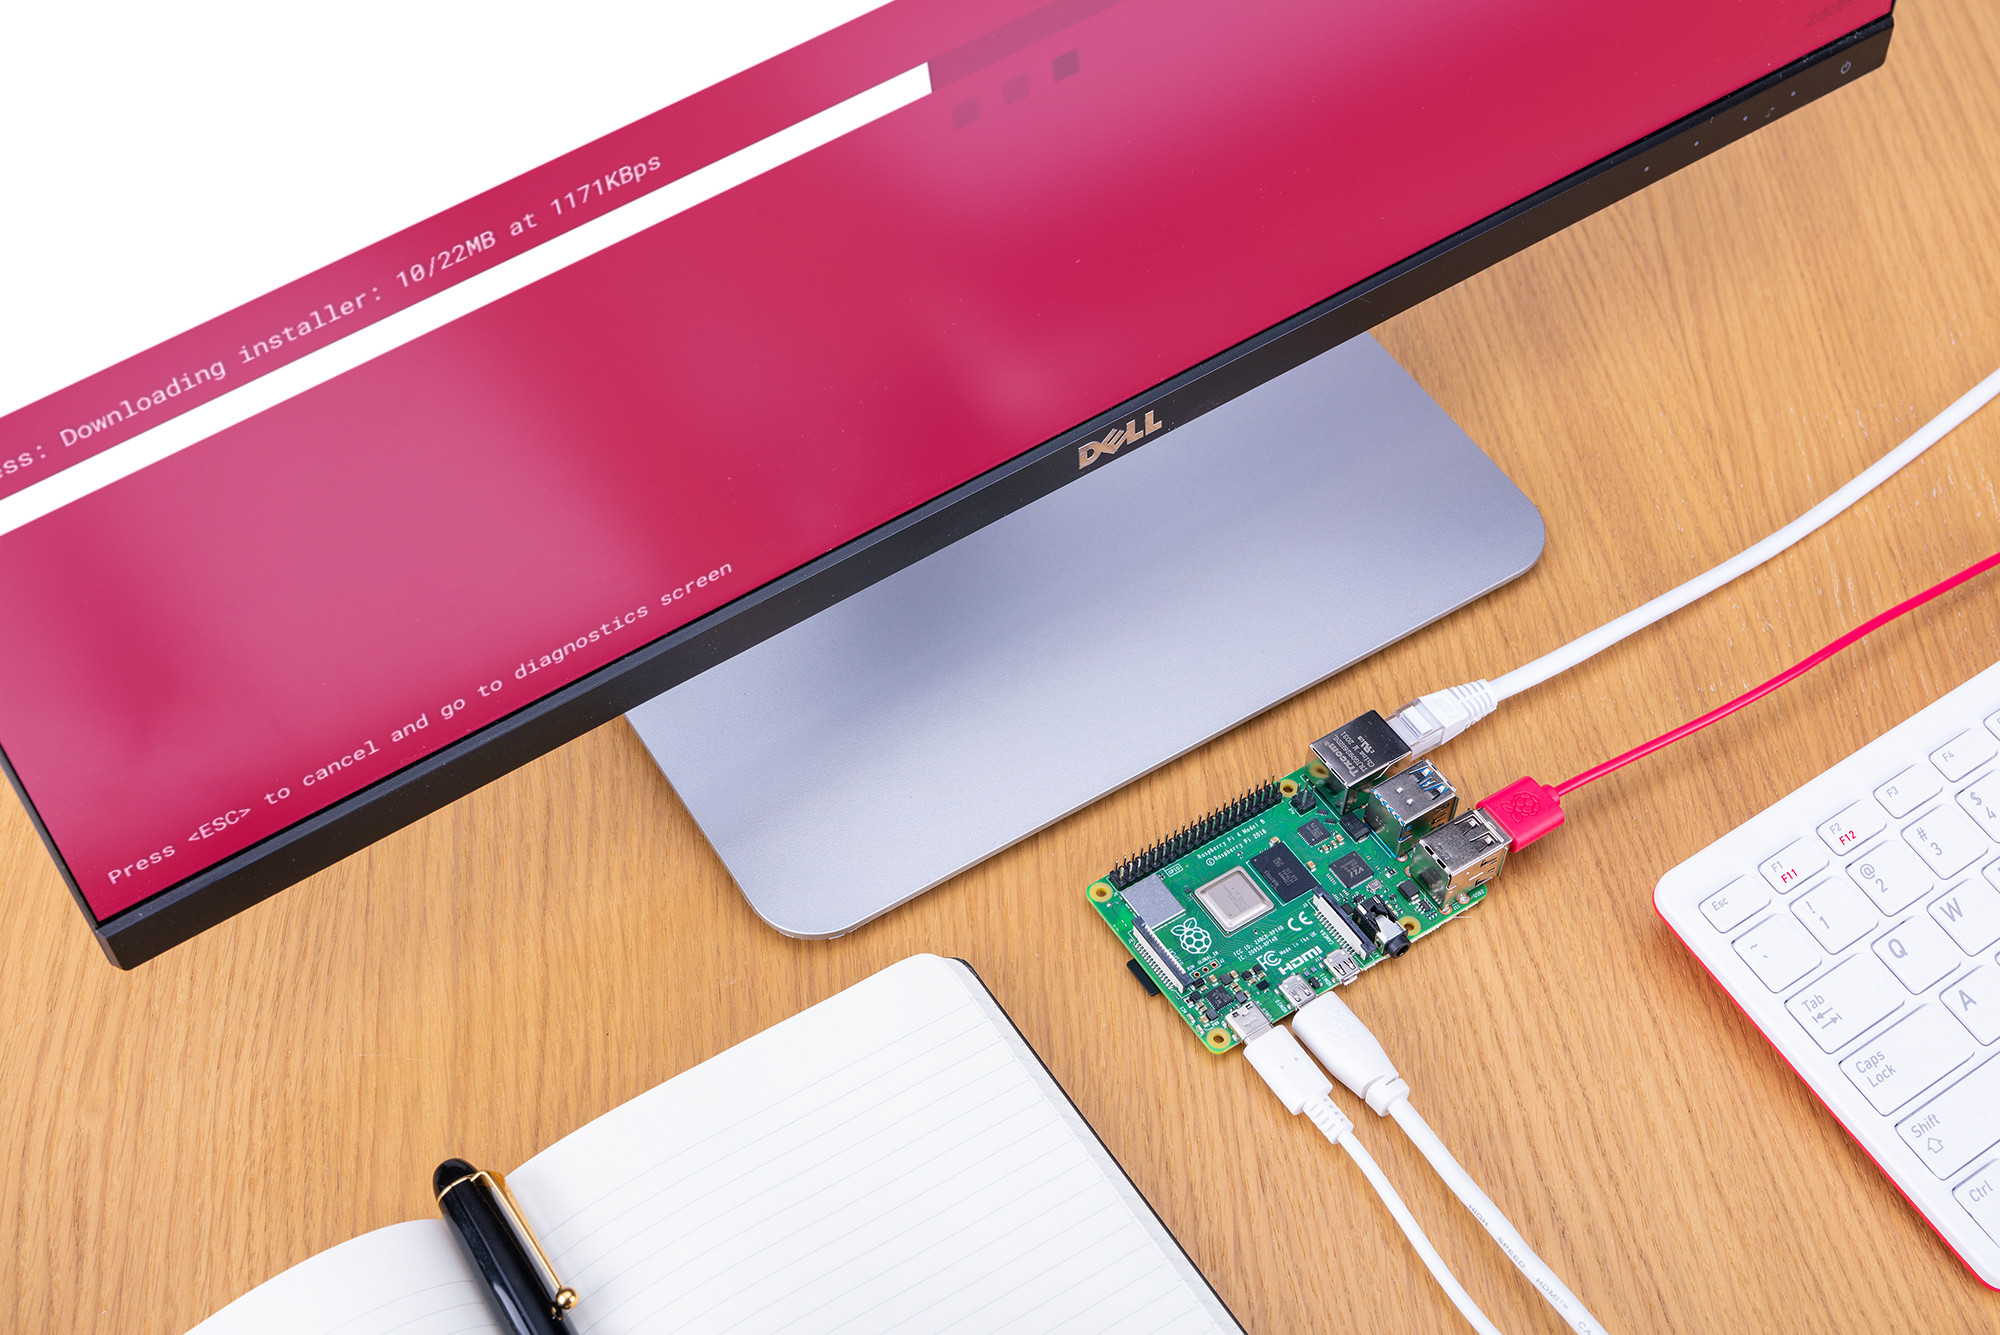
How to configure your Raspberry Pi (4 or 400) without PC
